
Making Homemade Pretzels and Dip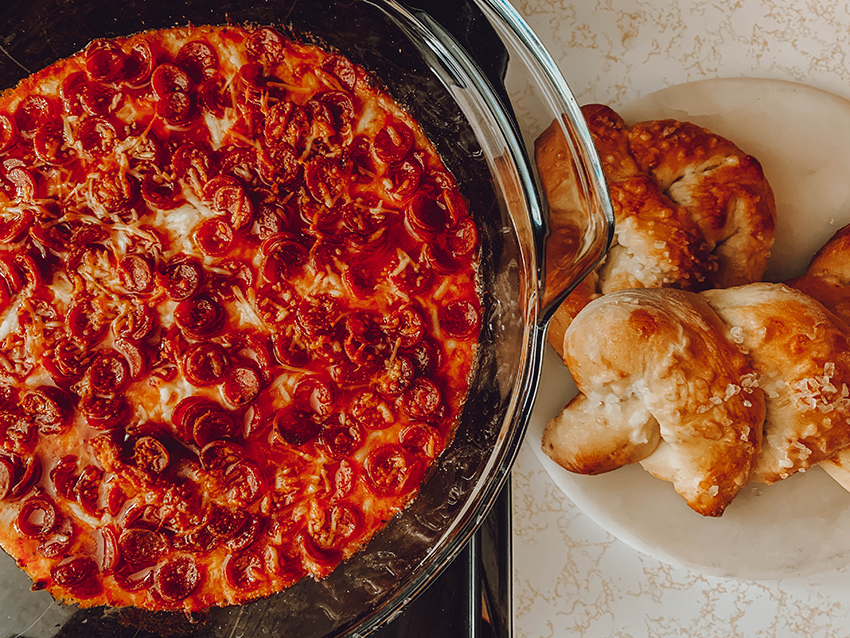
We had some friends over the other week to make some delicious homemade pretzels! This is something my cousins and I used to do together, and much like cookie decorating, it is fun to create different shapes and designs with the dough; or to just try to master the twist of a typical pretzel.
First things first, finding the right recipe. Many recipes for homemade pretzels include an hour or more of rising and a step of boiling the dough in a baking soda bath. Both of these things are not ideal for young ones who’s patience is thin and safety is key.
The recipe below is one my grandma used to use. It is super simple and allows children to participate in the whole process.
Tip: An alternative if you want to get right to the shaping is to use frozen bread dough. For this tip, make sure to set the dough out in plenty of time for it to thaw.
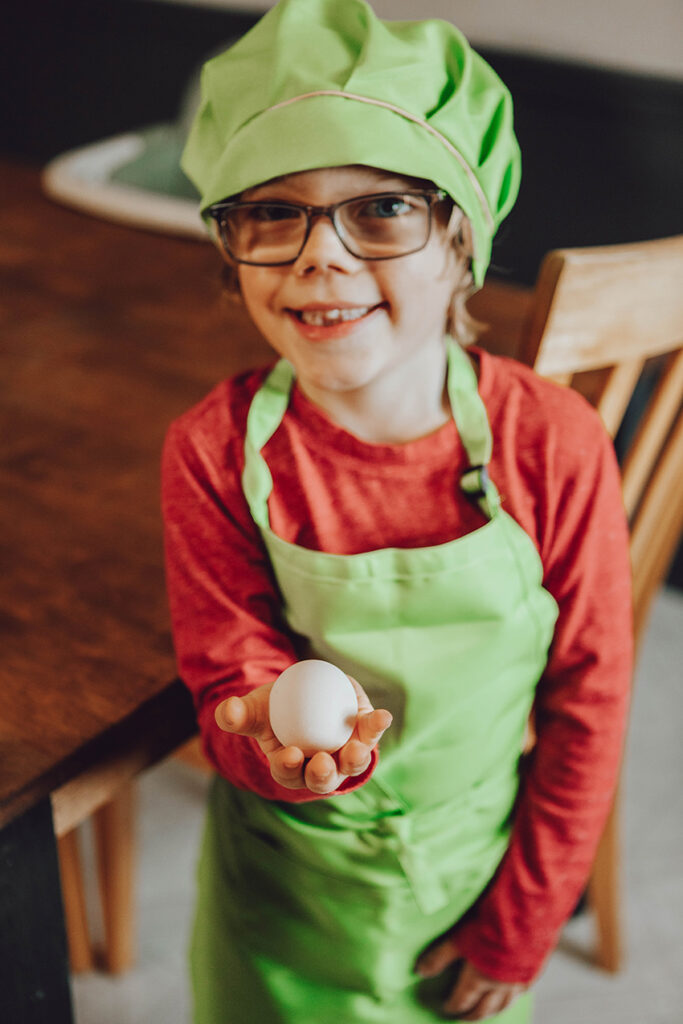
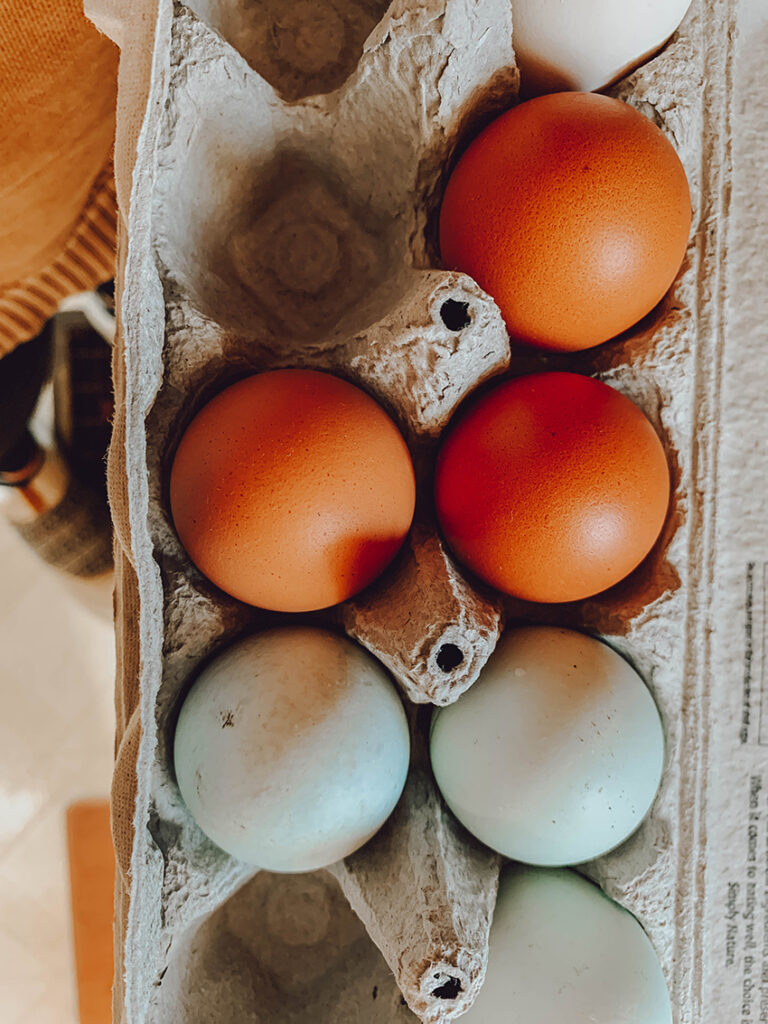
There was one ingredient we forgot to pick up at the store, but in true Lehman’s fashion, our friends raise chickens and were able to bring over a couple eggs!
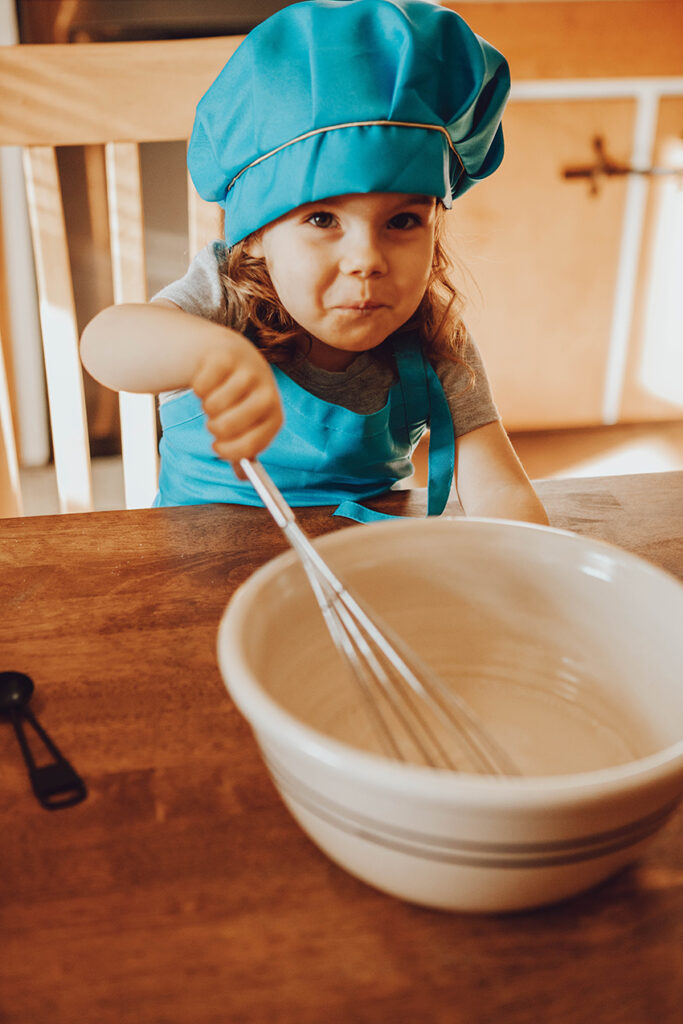
 For this recipe, you have to first dissolve the yeast into the warm water. The water should be about 115 degrees Fahrenheit. The slightly older kiddos were very curious about this step. They were able to take the temperature and see as the yeast dissipates into the cloudy pool. They asked questions which was a great opportunity to talk about the science of yeast helping the bread to rise. They told me it smelled weird. Ha!
Three ways to make sure everyone gets to feel like they’ve participated are:
For this recipe, you have to first dissolve the yeast into the warm water. The water should be about 115 degrees Fahrenheit. The slightly older kiddos were very curious about this step. They were able to take the temperature and see as the yeast dissipates into the cloudy pool. They asked questions which was a great opportunity to talk about the science of yeast helping the bread to rise. They told me it smelled weird. Ha!
Three ways to make sure everyone gets to feel like they’ve participated are:
- Take turns - everyone’s favorite lesson! If the children are insistent that they each get to do each part of the activity, you can set a timer that one gets to stir for so long, and then when the timer goes off, it’s time for the next one's turn.
- If you’re making a big batch, have them each make their own. This works best if there are multiple adults to help. It creates more dishes, but it also creates more fun!
- The third option is to take turns by activity. So if one child stirs the dry ingredients, the next does the wet ingredients. One cracks the egg, the next whisks and so on.
 Once all the ingredients were combined, each child was given a pile of dough and a cloud of flour. And they learned to knead the dough.
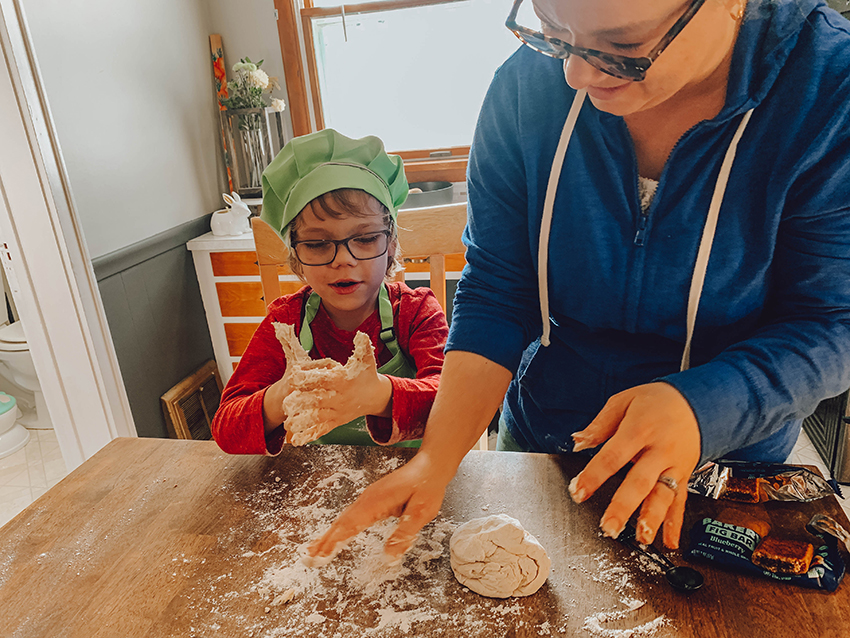 While a monotonous task for little hands, they found it oh so fun to get their hands a little sticky.
Tip: For wee little ones, make some edible playdough so they can participate without the risk of taking a taste of raw egg and yeast. (Recipe for this one is included.)
While a monotonous task for little hands, they found it oh so fun to get their hands a little sticky.
Tip: For wee little ones, make some edible playdough so they can participate without the risk of taking a taste of raw egg and yeast. (Recipe for this one is included.)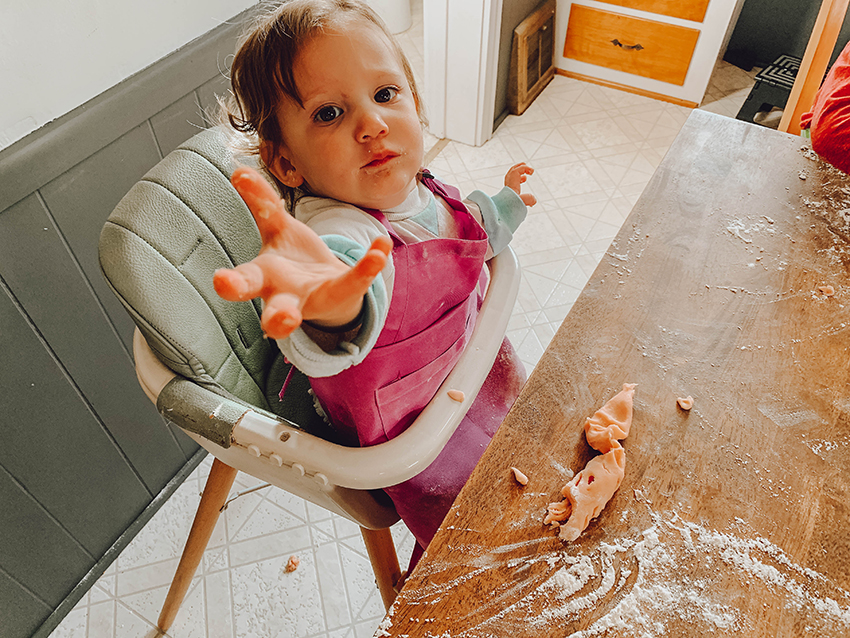 Tip: Flour on the table is also a fun way for the youngest to feel included but eliminate the risk of consumption. They can make shapes and “draw” in the flour as the older ones get to knead the bread.
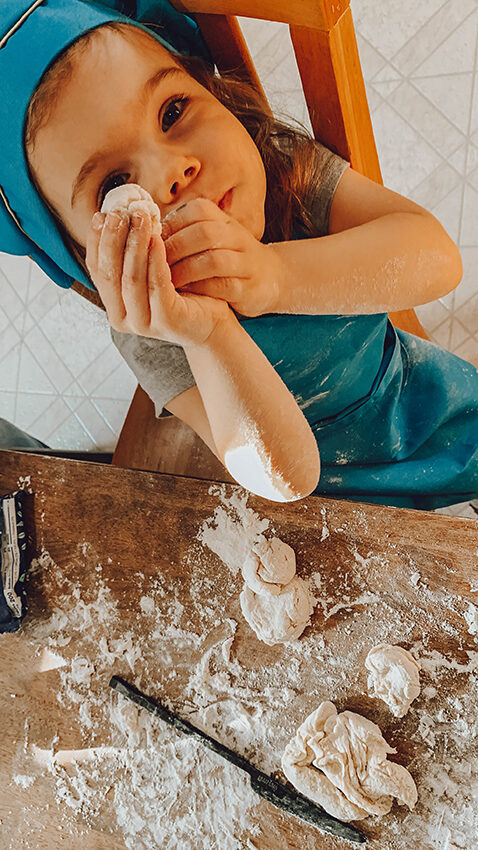
After the dough was smooth, it was time to create! We had the best time trying to roll and flip the dough just like they do at pretzel shops. While they weren’t all pretty, they were filled with joy.
Tip: Flour on the table is also a fun way for the youngest to feel included but eliminate the risk of consumption. They can make shapes and “draw” in the flour as the older ones get to knead the bread.
After the dough was smooth, it was time to create! We had the best time trying to roll and flip the dough just like they do at pretzel shops. While they weren’t all pretty, they were filled with joy.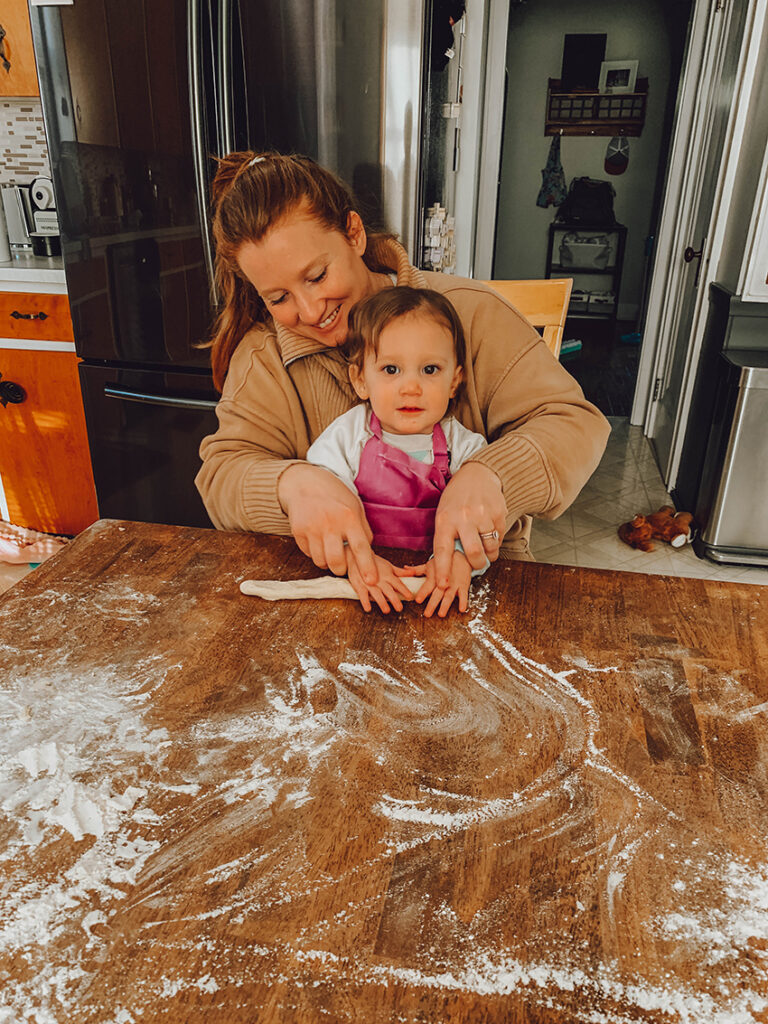
 We dusted them with egg and sprinkled that delicious and coarse salt. Then we left them in the oven to bake.
The smell of freshly baked bread is just the most pleasant smell!
While they baked, we took some time to make the dip. We chose the pizza dip from Lehman’s Sapphire Cookbook. It was phenomenal. Just listen to the sizzle of the cheese on our video. YUM!
[embed]https://www.youtube.com/watch?v=qaE1VXac13U[/embed]
Other great dips are honey mustard, ballpark mustard, queso dip, beer cheese and oh the list goes on.
This is a messy activity, but the fun we had created a great new tradition for our kids as they grow up together.
We dusted them with egg and sprinkled that delicious and coarse salt. Then we left them in the oven to bake.
The smell of freshly baked bread is just the most pleasant smell!
While they baked, we took some time to make the dip. We chose the pizza dip from Lehman’s Sapphire Cookbook. It was phenomenal. Just listen to the sizzle of the cheese on our video. YUM!
[embed]https://www.youtube.com/watch?v=qaE1VXac13U[/embed]
Other great dips are honey mustard, ballpark mustard, queso dip, beer cheese and oh the list goes on.
This is a messy activity, but the fun we had created a great new tradition for our kids as they grow up together.


0 Comments